In this article, I will explain the steps to install Maven. This article is part of a series on topic Maven Complete Understanding. If you are really interested to learn Maven in depth from basic to advanced. Please go through all the articles of this series. You can start from here .
Table of Contents:
Check Current Maven Installation
First, we will check if maven is installed or not on our system. Also, if it is installed then what is the version of that.
We need to run mvn -v command to check the above. If it is not installed then it will give out put like command not found. It is shown in the image also.

Maven Installation Steps
Irrespective of the OS, JDK must be installed on your system to install Maven. After installation of Java, either JAVA_HOME environment variable should be pointing to your JDK installation or java executable should be on your PATH environment variable.
For Mac you can use any of the two methods. For other operating systems, you should adopt the 2nd method.
Method 1: Installation Using Brew
If you want to use brew then installation becomes very easy for you.
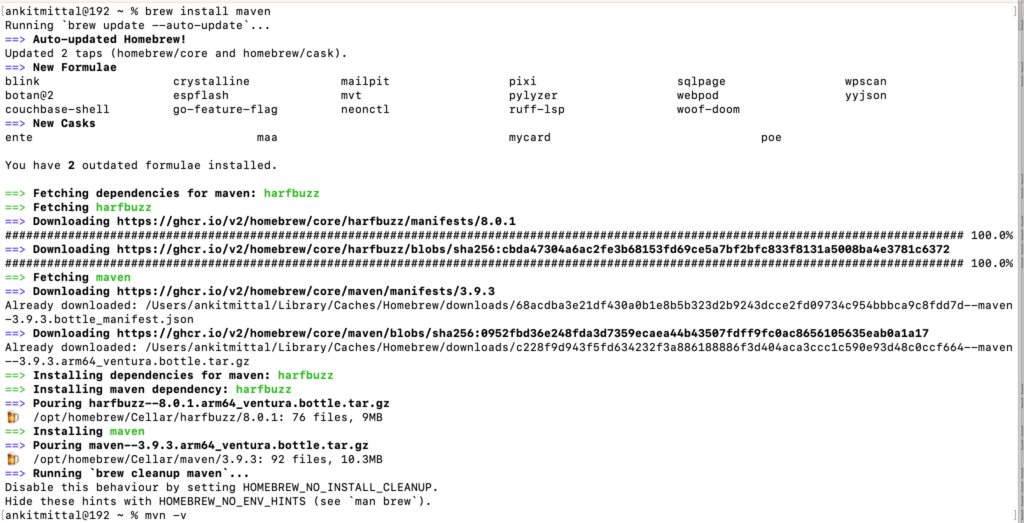
You can use following command to install:brew install maven
It will take some time, then you will see successful message.
You can take reference of the below snapshot:
Now, if you run again the command: mvn -v, it will give installed maven’s details.

Method 2: Installation Without Brew
If you don’t want to use brew then please follow the below steps:
First you need to download apache-maven binary file from the url : https://maven.apache.org/download.cgi . In this example, I have downloaded apache-maven-3.9.3-bin.tar.gz file.
Then extract the file on your system in any of the directory.
You can use below command to extract the tar or zip file:tar xzvf apache-maven-3.9.3-bin.tar.gz
or
unzip apache-maven-3.9.3-bin.zip
I have extracted the file in /opt/ directory. (You will need to move folder using super user if you want to move it in the root directory).
Now, if you go inside the apache-maven-3.9.3 directory, you will see one bin directory there. We need to set the path of this bin directory in the PATH environment variable. This is a mandatory step to install the maven. If you don’t know what is PATH environment variable and why are we setting this. Then you can understand the concept of PATH environment.
Command to set the path variable:PATH="/opt/apache-maven-3.9.3/bin:$PATH"
Reference image:

After this, maven is successfully installed on your system.
Now, if you check again the maven version command, you will be able to see the details of installed maven.

You can follow the guide if you want to uninstall MAVEN.